


Call of Duty: Black Ops Cold War is out now and that means that players finally get to play in all these new Maps that Activision has created. But walking into a battle blindly is never a good idea, right? Don’t worry, we’ll guide you through them with our Call of Duty: Black Ops Cold War Multiplayer Map Guide and give you some additional tips and tricks that you might find useful for these Maps!
- READ MORE: Black Ops Cold War: How to Unlock the Ultra Weapon Skins!
- READ MORE: Black Ops Cold War – How to Decrypt the Disk in Operation Chaos
1. Armada
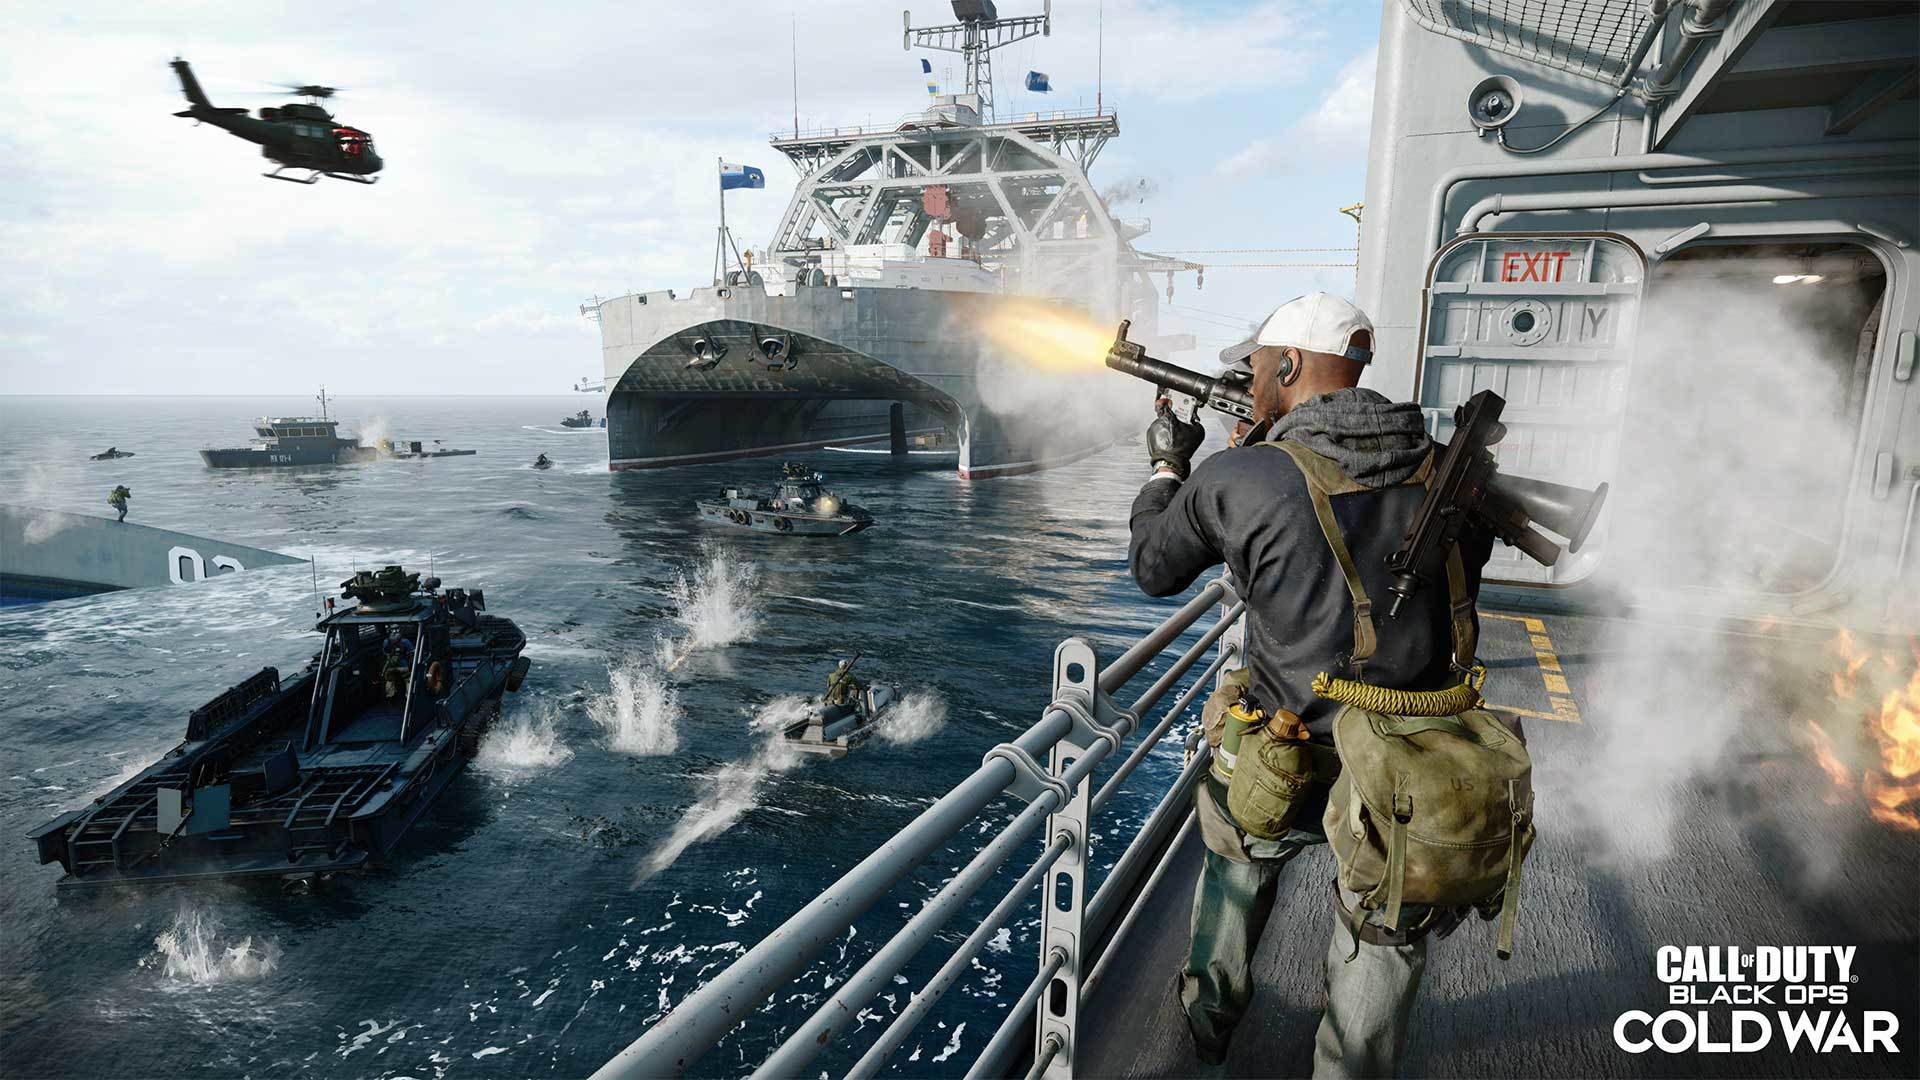
Armada is a Multiplayer Map that is set in the middle of the North Atlantic Ocean and can either be played 12 vs. 12 or 6 vs. 6. It is filled with a bunch of ships that you will end up fighting on for the most part.
The size of the Map is considered to be Medium, though when first playing it, you might think it's a little overwhelming. The 6 vs. 6 is a good start to get a good feel for it, but playing 12 vs. 12 on this map straight away might feel like you've been thrown into cold water.
Quite literally.
Because that happens.
Tips and Tricks:
You can use gunboats and jet skis to navigate around the waters of the Armada map, but keep in mind that neither you nor your cool vehicle will be invincible. Just like you, however, they will respawn eventually.
If you want to go from one ship to the next, use the ziplines to be quicker or go for a dive if that's what you fancy.
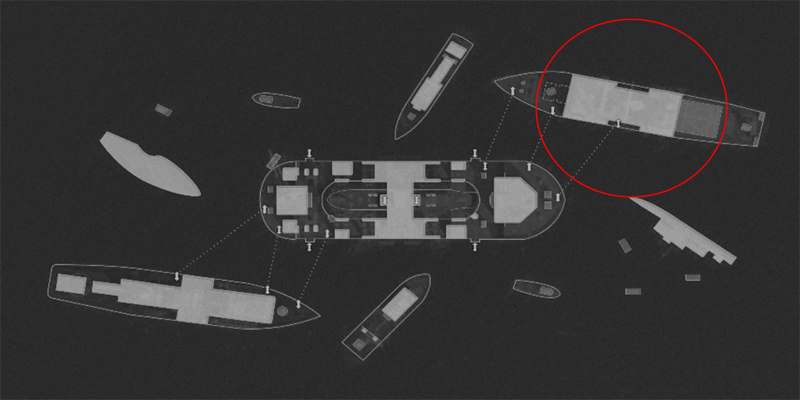
Man the Machine Guns in the marked locations above to surprise your enemies, but our EarlyGame tip would be to use Snipers or SMG’s on this map. Especially with a Sniper, you can do major damage to enemies on another boat, no matter which one you're on as it's hard to keep track of who is on which ship doing what.
Get those headshots in!
2. Cartel
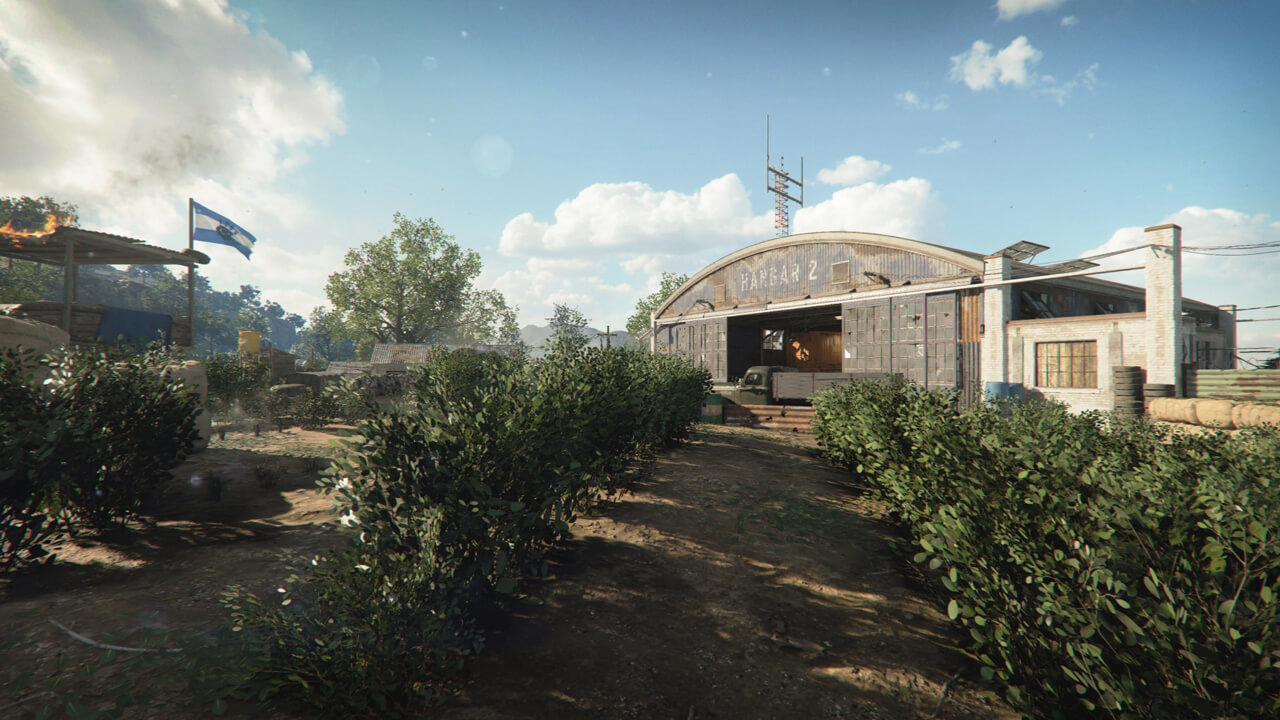
Another 6 vs. 6 or 12 vs. 12 map which is set in Nicaragua, a state in Central America.
The map is, yet again, considered to be Medium, but leaning more towards one of the larger Maps, yet navigating through it isn't as hard as on the previous map.
In case that you want to speed through it, use the motorcycle that the Cartel Map offers you!
Tips and Tricks:
While there are certainly spots to snipe away your enemies - like the central tower - with the number of buildings plastered around this map, close-quarter combat seems like the more logical thing to do on this map. Grenades and C4 are your best friend here! Draw out your enemies with those first and then blow them away with your Shotgun, SMG or MP5.
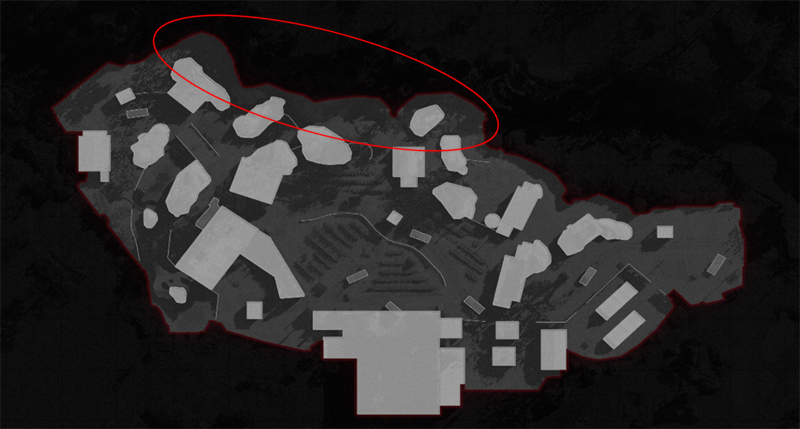
For those of you who like the element of surprise, use the Lower Riverbed we marked in the picture above to stab or shoot members of the other team in the back. Especially when there is more than just you planning an attack, this can be a great tactic to take out multiple enemies at once, since they'll be more focused on what's ahead of them.
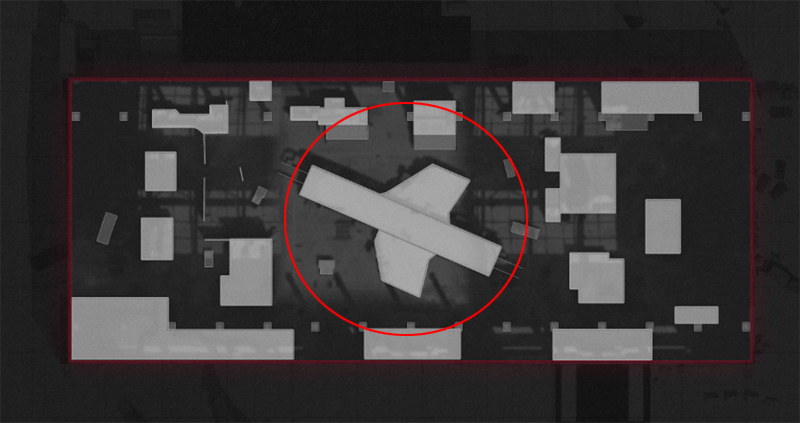
3. Checkmate
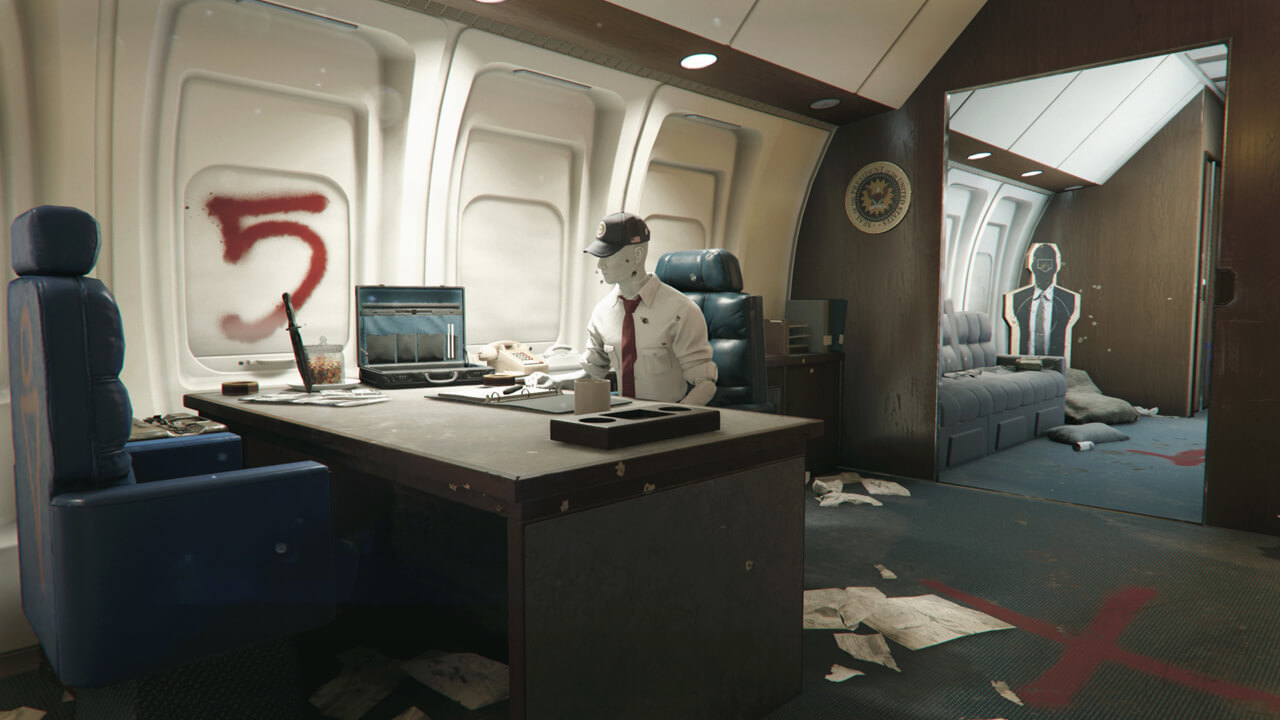
Checkmate is a 6 vs. 6 - no 12 vs. 12 for this one - Training Facility Map set in Berlin, East Germany with the most notable feature being the airplane in the middle of the map.
Tips and Tricks:
While it is said that the Map is the Medium-Type, you will notice among playing, that most of the combat takes place right in the middle of the map. The plane literally attracts players like light attracts moths, making it an awesome opportunity to test out new close-range weapons.
In fact, our EarlyGame tip would be to leave your Snipers at the base for this map, using a Shotgun or SMG works so much better on this map.
4. Crossroads
The 12 vs. 12 Crossroads map that is set in Uzbekistan is extremely big, while the 6 vs. 6 version of it is extremely small.
Nevertheless, you'll soon realize upon landing here, that there is an enemy that might just blow you to pieces.
The tank.
Tips and Tricks:
Use several of the vehicles spread around the map or find shelter in bunkers or bases. If you aren’t fast enough and the opposing team gets a hold of a tank first, a grenade launcher is your best bet to win the upper hand again, but we advise you not even letting it get that far and winning the tank for your team first to do some major damage. Use the picture above for reference as to where to find a tank!
In addition to that, just like the Armada map, there are several machine-gun nests with which you can shoot down some enemies, but be wary of those. With the mixed terrain of the map, it is extremely easy to become a sniper target when using these machine-gun nests. Our advice would be to become the sniper, rather than to get shot by one, duh.
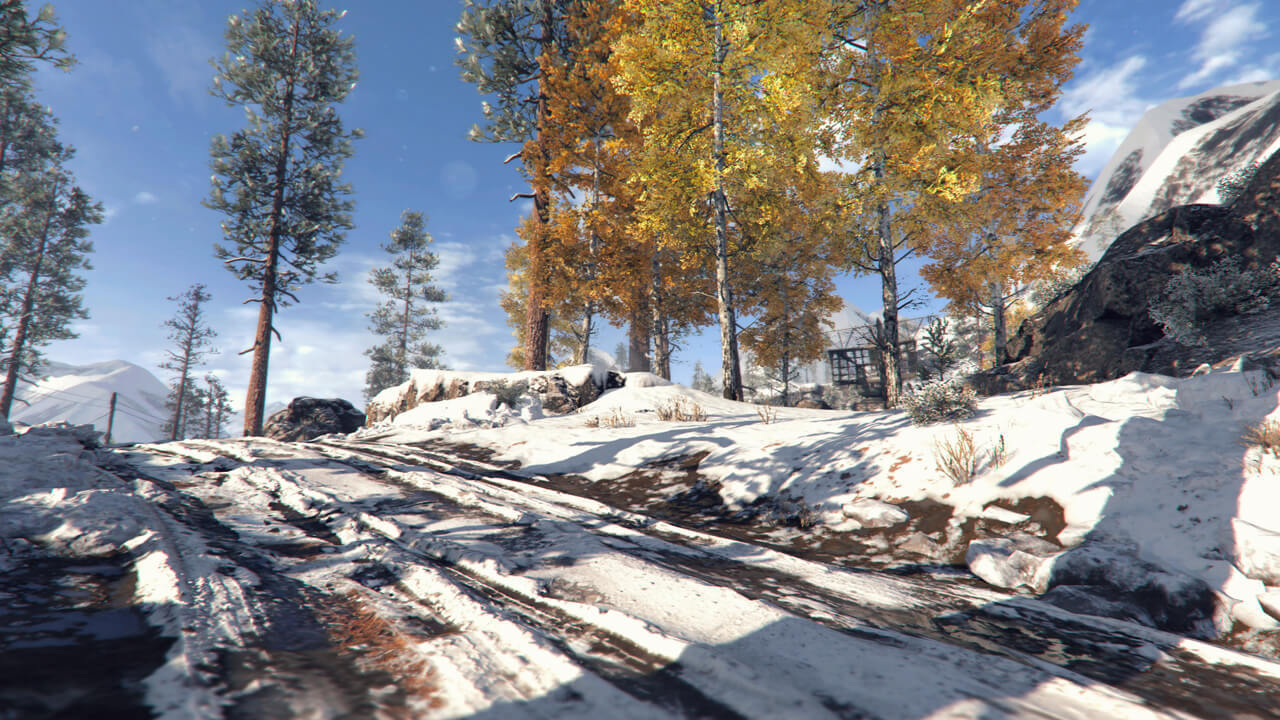
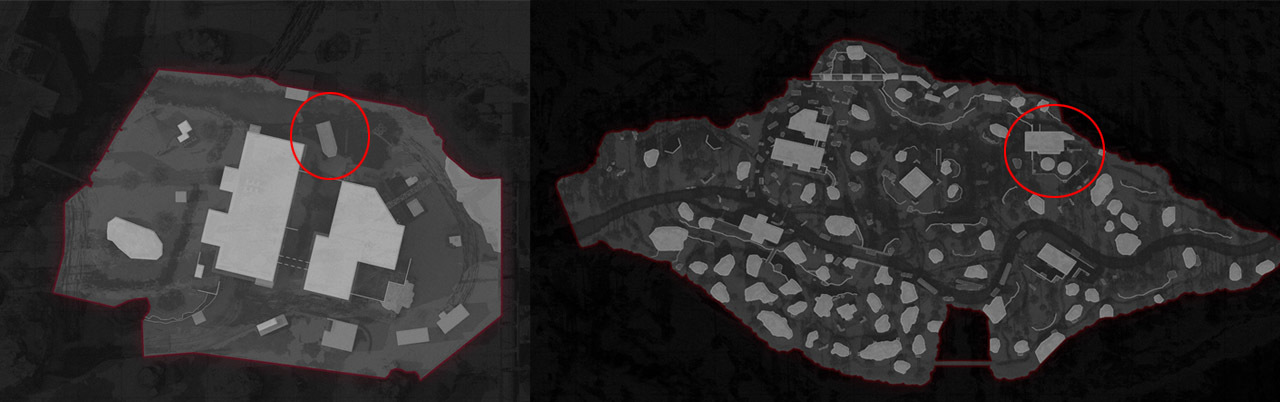
5. Garrison

Another map that only offers 6 vs. 6, this time, set in Hannover, West Germany.
A smaller map that is best for close-range combat, since all the fighting takes place in the central part of the map, rather than the ways leading to the center.

You will most likely meet opposing team members right in the center of the map, where the tank is located - see picture above. Unlike in Crossroads, you will not be able to fight with this tank, rather use it strategically to block incoming shots from enemies.
Tips and Tricks:
SMG’s will work best on this map, once again, leave the Snipers at home and come in with your close-range weapons, you’ll do more damage that way and score a win for your team.
And don't forget that you can actually crawl under the floor on the left of the map for some surprise attacks!
6. Miami

Miami, 6 vs. 6 Map located in.. well.. Miami, obviously.
Even though the map is medium-sized, navigating through it - especially when first playing it - isn’t the easiest. Too many pathways leading through the streets of Miami, turning it into a small labyrinth that you'll have to try to not to get lost in.
Tips and Tricks:
With the number of buildings, cars, etc., you have the advantage of being able to take cover almost everywhere, sneaking up on your enemies, and performing your special assassination move. You have the opportunity to do that on this map almost everywhere, so take your pick!
As for weapons, why don’t you try out the Confrontation Weapons if you’ve pre-ordered the game? Assault Rifles work wonders on this map!
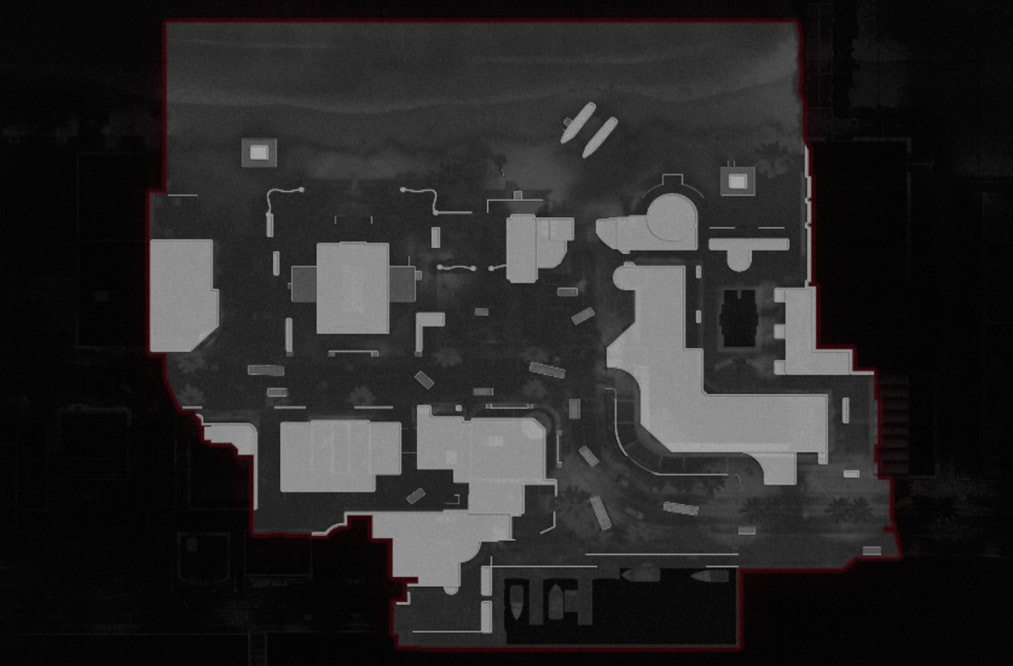
7. Moscow

Play this 6 vs. 6 Map that is in the Heart of the U.S.S.R. and decide whether you want to play smart, or simply go all in.
Tips and Tricks:
This map reminds us of League of Legends with its lanes.
Whereas the central lane of the Moscow Map leads to the Moscow Metro, the left and right lane can be used to flank those in the central lane. In case you want to change lanes, simply enter one of the buildings and exit it on the other side - but know that they are also great for cover, especially from incoming aerial scorestreaks!
If you want to do significant damage, we advise you not to use the central, but the other two lanes to flank enemies and deal some major damage!
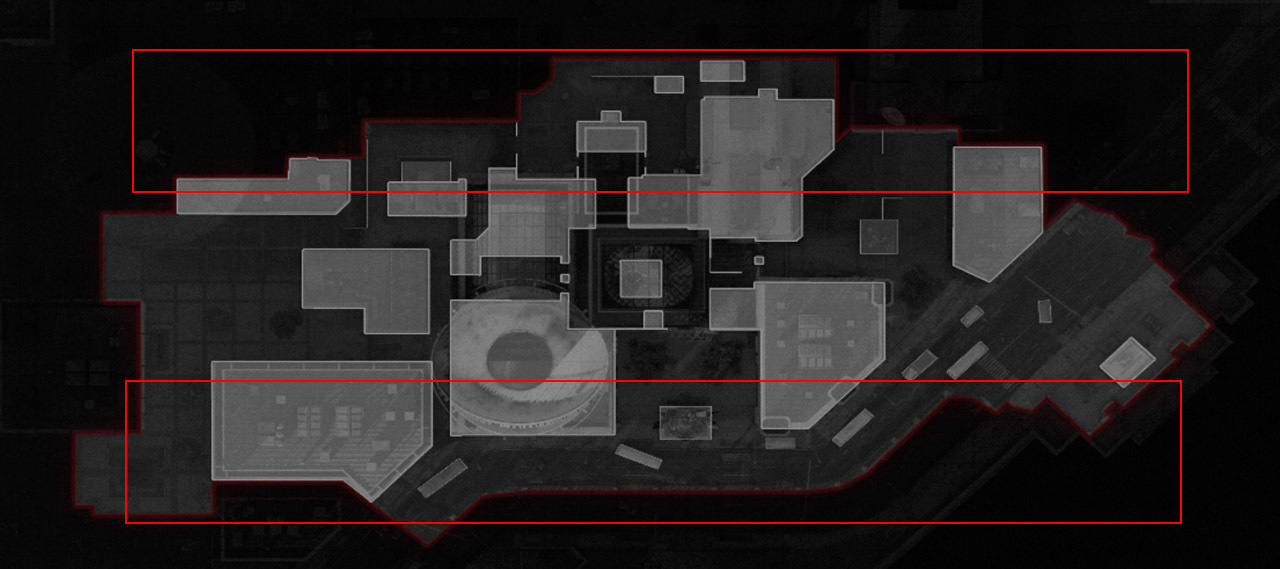
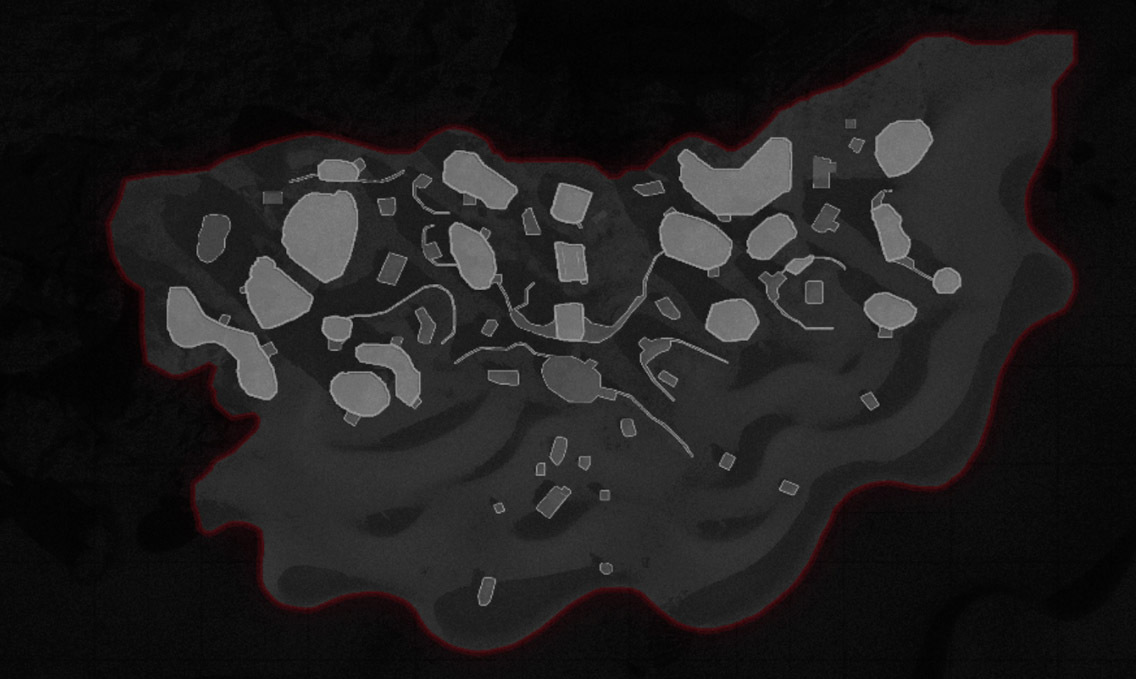
8. Satellite
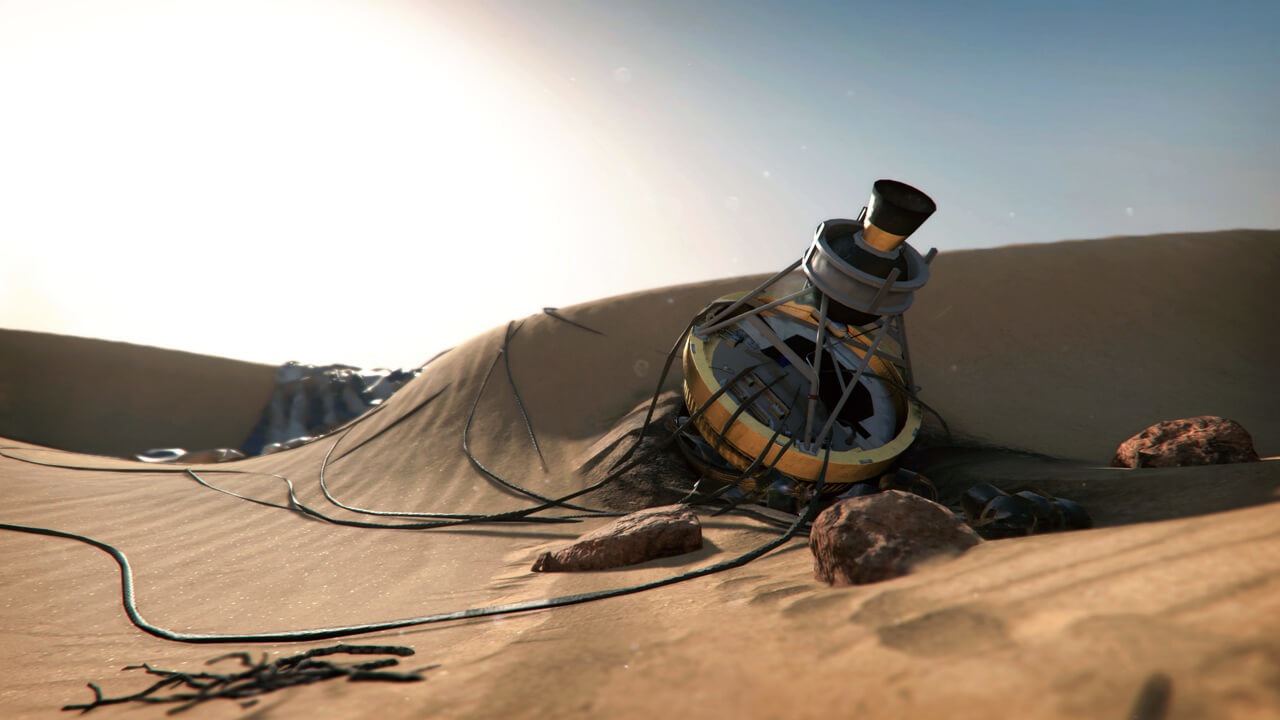
The last multiplayer map in our Guide, Satellite, a 6 vs. 6 map that is bound to be fun for every player, no matter what weapon you prefer to use!
Tips and Tricks:
If you prefer to use Assault Rifles, go top, to the crags, and if you prefer to use Sniper Rifles, go bottom, to the dunes - League of Legends players are used to that kind of talk, right?
Not much can be said if you choose to be a Sniper, you'll have plenty of shots to take, we're sure of that.
But if you decide on the crags, use Proximity Mines. Enemies will have a hard time spotting them.
Alright, that's it for our Guide on Multiplayer Maps.
We purposefully left out the Fireteam and Zombie Maps, since that is an entirely different system that will need its own Guide.
So stick around on EarlyGame for more useful Guides and News, such as Black Ops Cold War Season 1 Roadmap: Nuketown '84, New Weapons & More