This guide will show you which defensive positions on the bind map are most effective. Perfect for defenders who want to improve their positioning or attackers who want to know where their opponents are lurking.
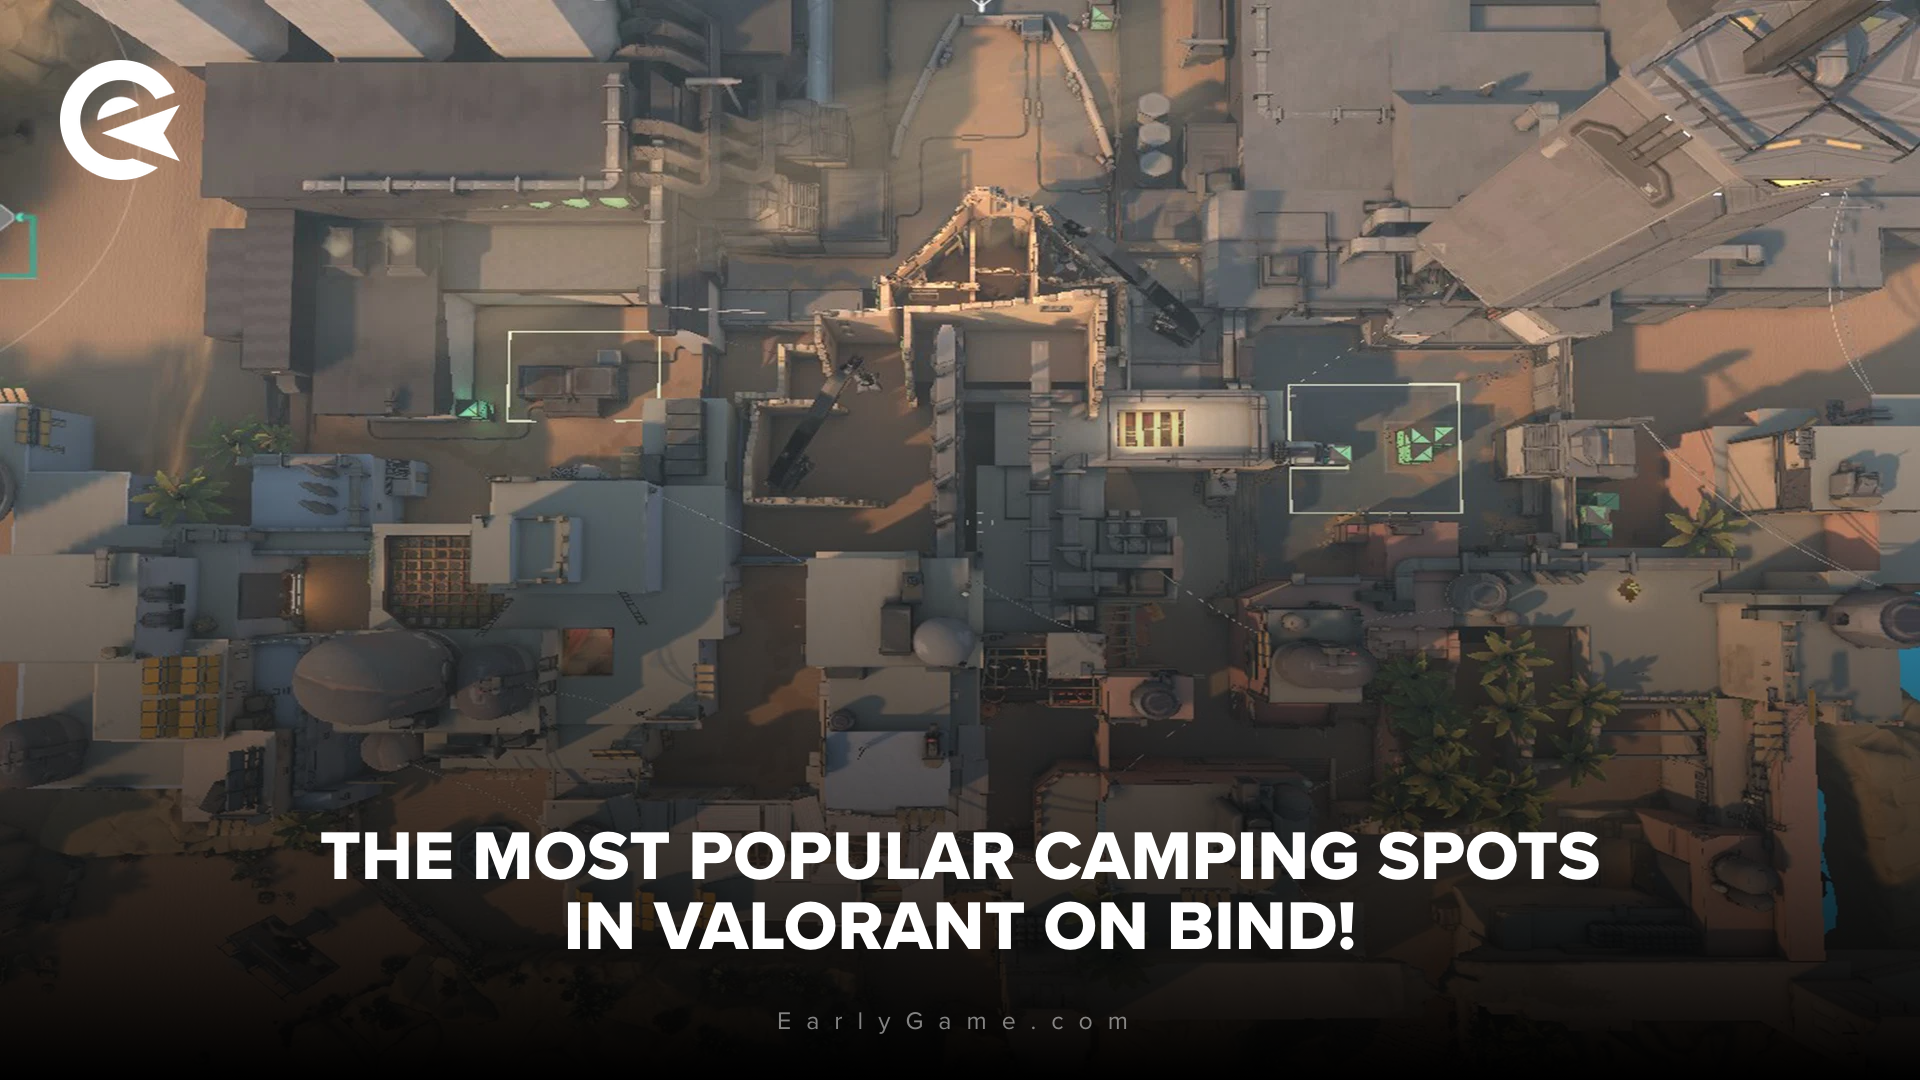
Loved by some, hated by others: Bind has always been part of the map rotation in Valorant and is familiar to every player.
Since the release of the shooter in June 2020, Bind has been one of the four original maps that were playable right from the start.
Although the map has been tweaked a few times since then, its basic structure has remained the same.
Like many maps, Bind favours defenders, which makes attacking a challenge.
To help you as an attacker on Bind be better prepared, target your opponents early, or know the best defensive positions. You can find out all about the most popular campsites on the map here.
The overview is divided into defensive positions for defenders on A and B.
Bind - Bombsite B - Defender Spots
B-Gap:
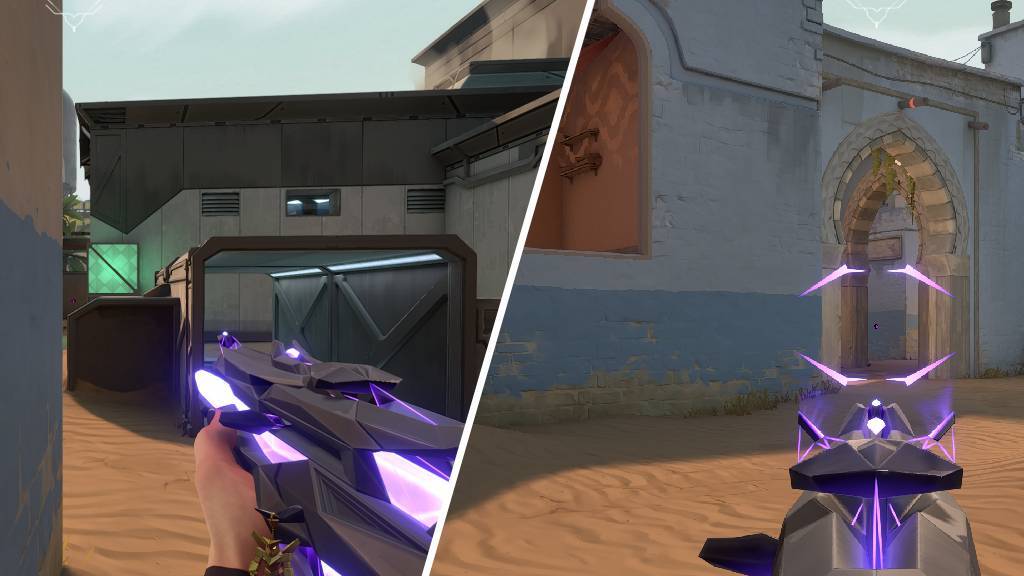
As a defender, you should often visit the niche on bomb side B. You can hide here until you hear the enemy team, and then peek out of the corner at the right moment.
First check the right path, B-Long, and then move your crosshairs further to the left to check Hookah. This spot gives you both cover and a great view of both attack paths.
Just remember that experienced attackers know the corner and will often be waiting for you there.
B-Hall:
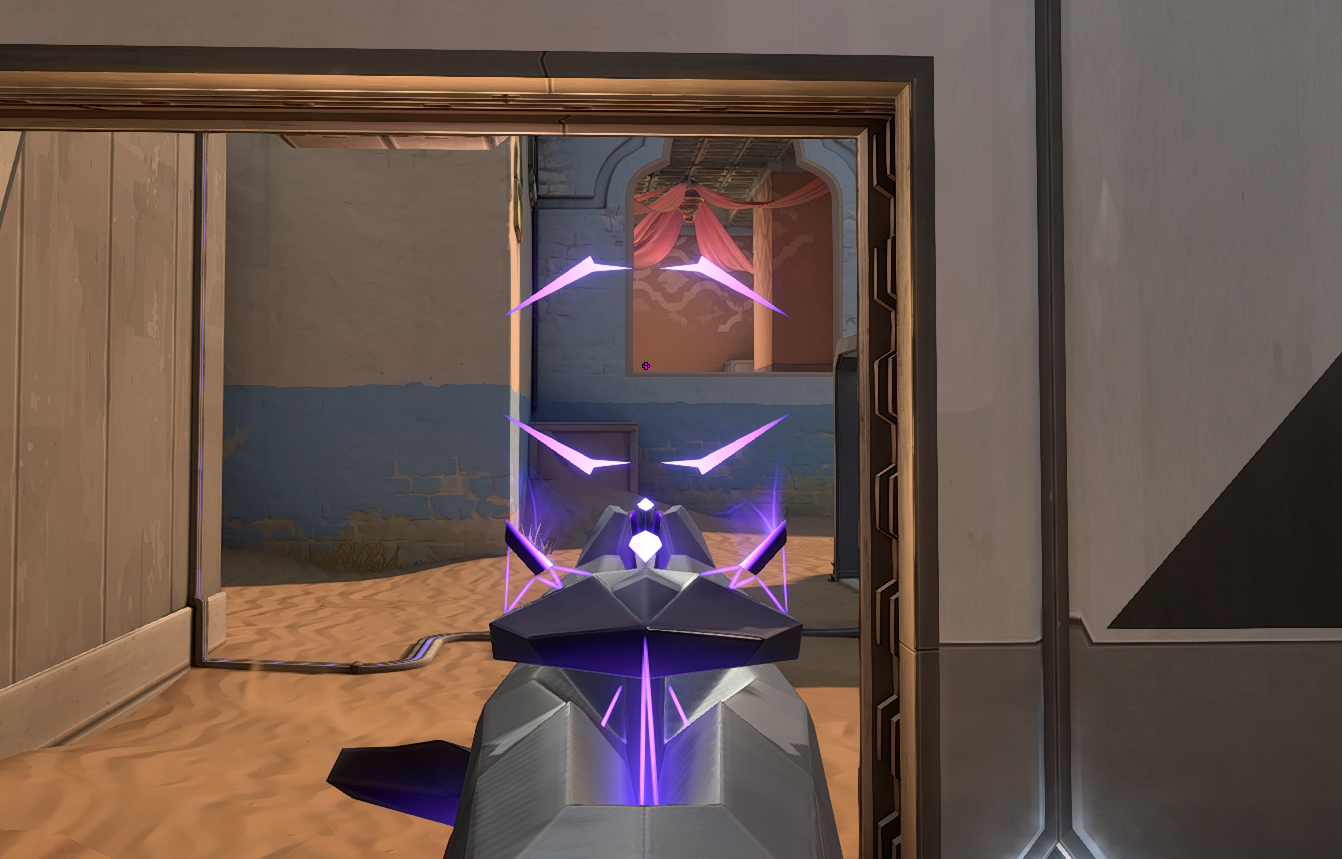
The Hall Defender position offers a clear advantage for keeping an eye on B-Short. Even if you can't see B-Long directly, you have a clear view of opponents coming from B-Short, Hookah.
The angle plays into your hands: While your opponents have a hard time spotting you, you have an ideal line of sight to their heads. Stay calm and you will be able to deliver accurate headshots from this position.
In the event of a strong push, you can always retreat to the right towards Elbow or to the left towards the defender spawn.
B-Elbow:
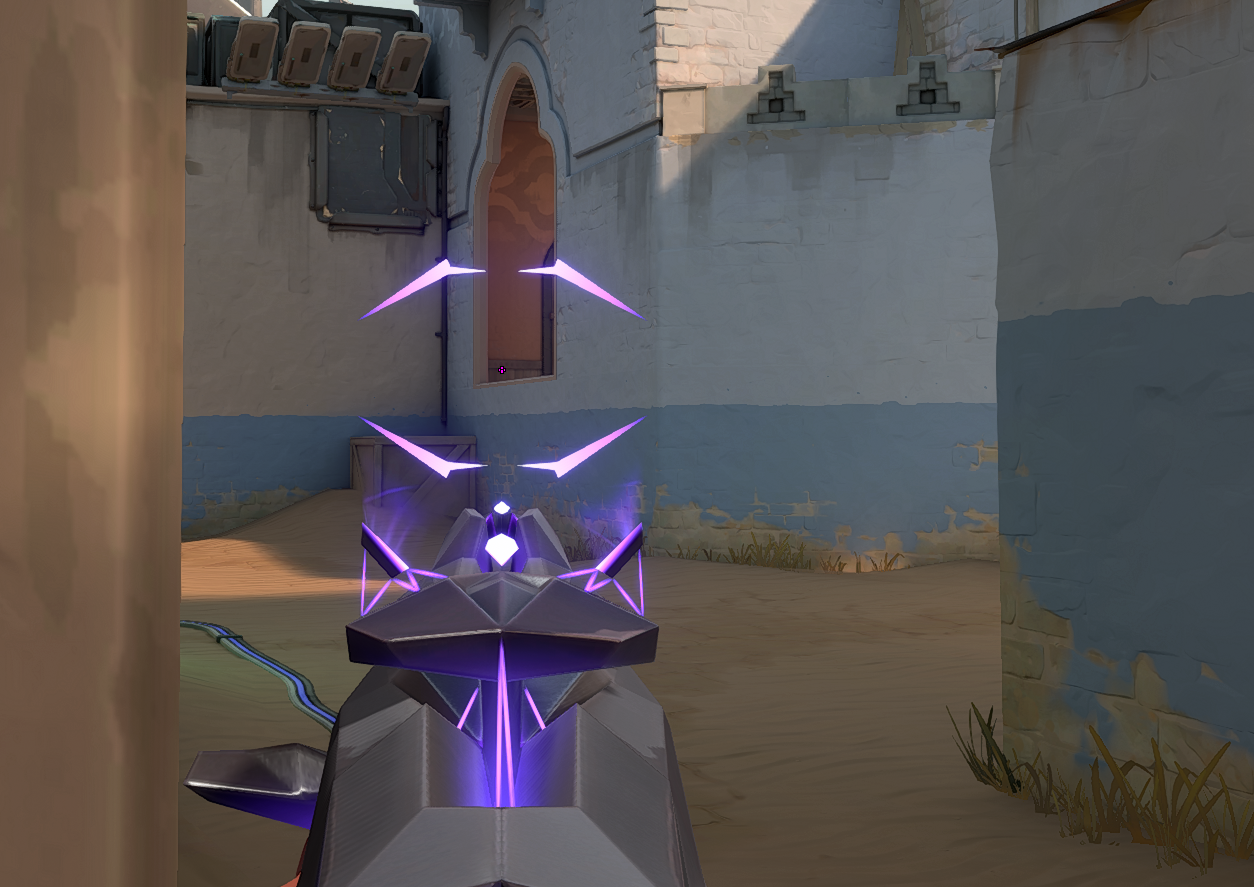
The last point of defence for the Bind B-side is the elbow.
As you can see in the picture above, you have an overview of both Hookah and B-Long if your opponents have already advanced to Garden (just behind the corner).
A versatile side with retreat options and a good overview. B-Long or Garden should ideally be covered by a fellow player with an operator to gather information early and make the most of the extensive course.
Although the teleporters on Bind are not regular camping spots, they do have their dangers. If you are following enemies who have just teleported, they may be lurking in the teleport and could surprise you from behind. Think carefully before using the teleport. If necessary, go in backwards to make sure you have cover on the other side.
Bind - Bombsite A - Defender Spots
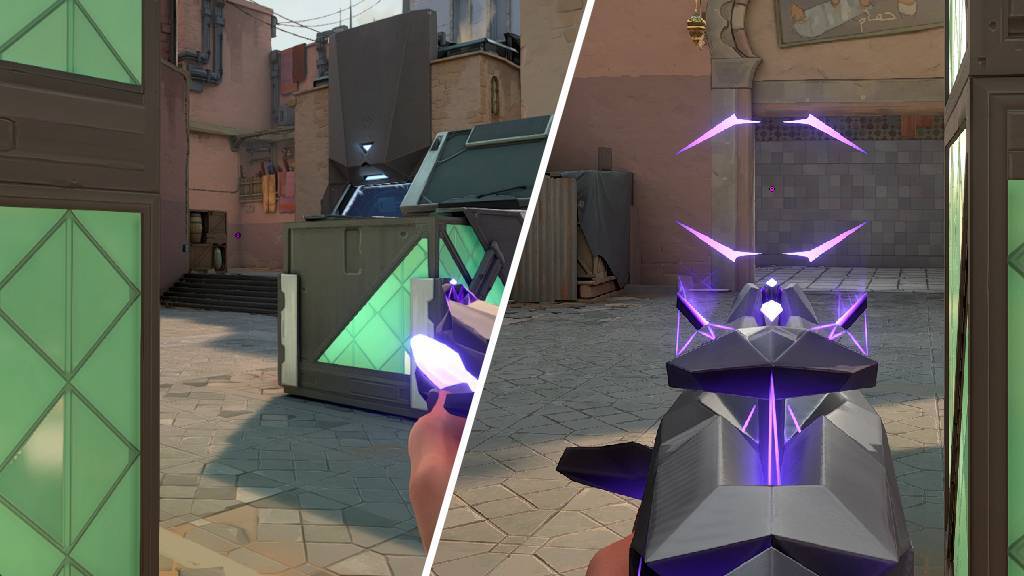
On the A-side, the position behind the green boxes in the middle of the map is one of the most popular defensive spots.
As with the niche on the B-side, you can either wait for your opponent to hear you or aim directly at the A-short (left in the picture).
This is one of the preferred ways to attack A.
If the opponent chooses A-Long and the area above the showers (on the right) instead, the position allows you to control this approach as well.
A-Lamps:
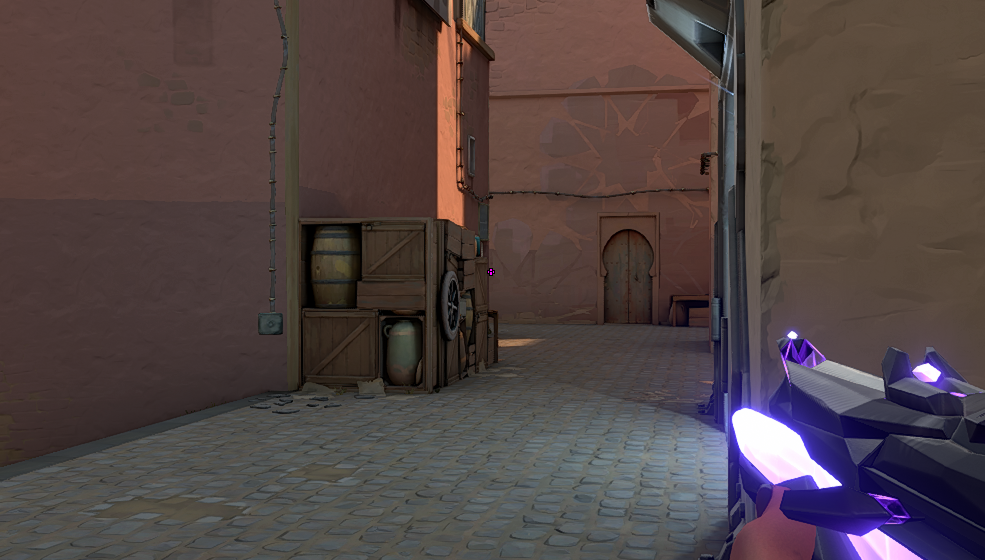
Unlike the route described above from the showers area, the A-Short offers attackers more space and protection from walls and crates.
Defenders need to be alert as the attackers can come from either corner.
It is advisable to take cover behind the wall as much as possible and only aim at the left side.
If you move to the left, you will lose most of your cover and will usually be spotted faster than you can see the attacker.
Also keep an eye out for the wooden crates - attackers can hide behind them or move slowly.
A-Tower/Heaven:
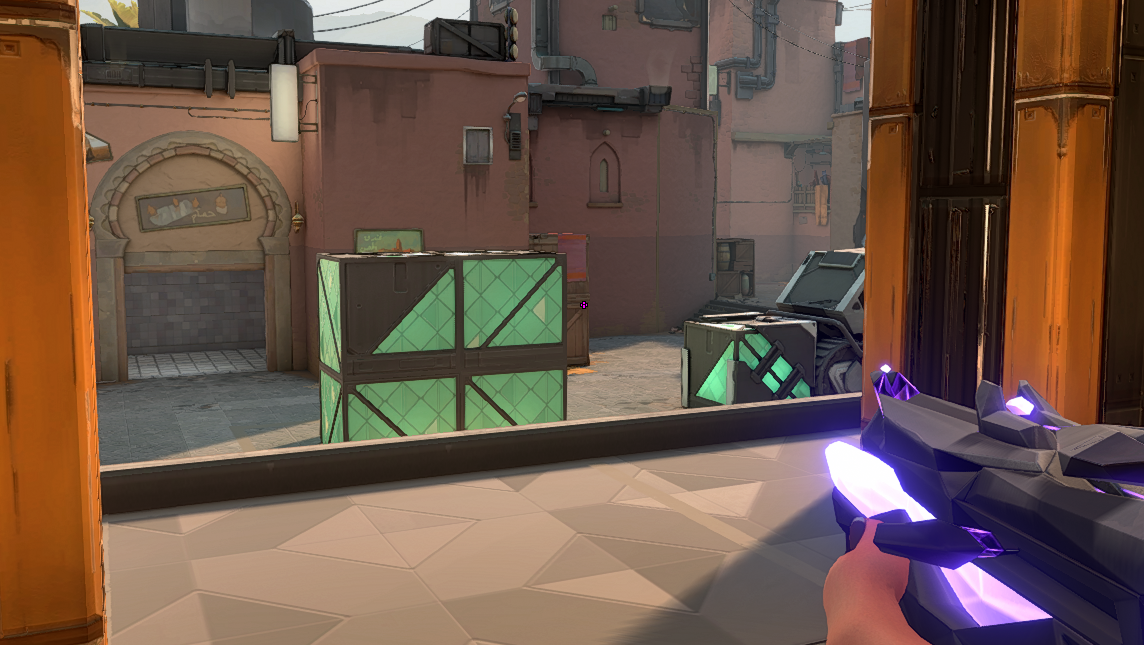
Heaven, also known as the A-Tower, is ideal for snipers. From here you can overlook the entire A-Site and cover both short and long range.
But be careful: enemies will often be waiting for you at this position, and will usually have cleared it beforehand so that they can enter the site undisturbed.
So don't rely on it blindly - or wait for the smoke to clear.
Whether you're attacking or defending, we hope this brief guide will help you to keep an eye on the crucial corners and be well prepared for the next round on Bind.
Are there any spots missing on this list? Let us know in the comments!

