


This guide will explain the different Gadgets and their upgrades in Fortnite: Save The World.

Fortnite: Save the World has many different features and skills that can boost your performance in battles. Gadgets are one of the mechanics players can employ, so we'll explain them to you:
We've already shown you how to assemble your Hero team in this mode. But when assembling your team in your Hero Loadout section, there are three more things you need to pick: A Team Perk and two Gadgets. This article will explain the latter and the benefits you get from upgrading them:
Gadgets
There are 8 Gadgets overall and you can pick 2 for your Hero. The Gadgets can be improved with Upgrade Points, which will give them additional skills:
Adrenaline Rush
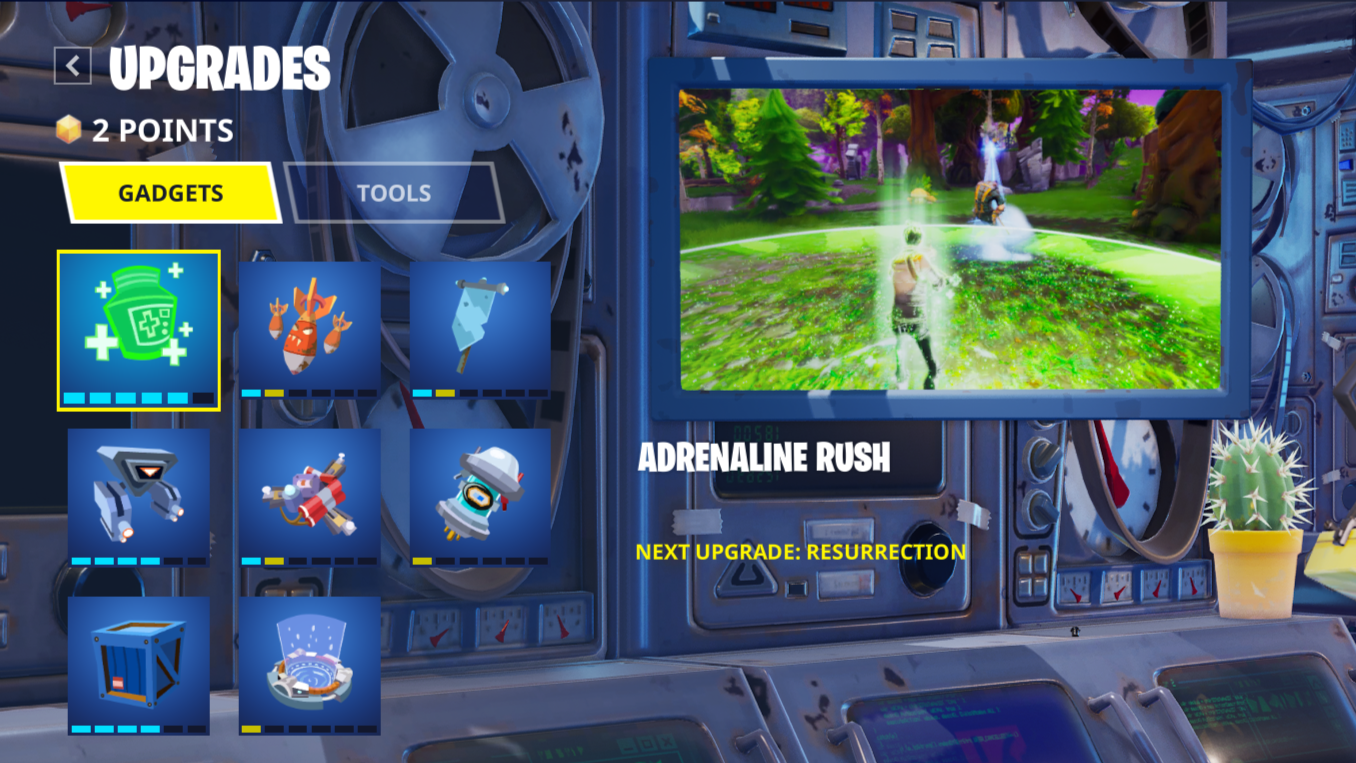
Base skill: Cooldown: 180 seconds. Restores some health to you and friendly players in a 1 tile range, instantly.
- Tier 2: Improves the range of Adrenaline Rush by 3 tiles.
- Tier 3: Improves the healing power of Adrenaline Rush by 30%.
- Tier 4: Adrenaline Rush now does additional healing over time: 10% of insta-heal amount every 1 second, for 5 seconds.
- Tier 5: Adrenaline Rush now has a 30-second shorter cooldown.
- Tier 6: Adrenaline Rush can now revive downed allies.
Air Strike

- Base skill: Cooldown: 300 seconds. Drops 5 bombs, causing high damage per bomb, in a designated area.
- Tier 2: Improves Air Strike's volume of fire by 2 bombs.
- Tier 3: Air Strike now has a 60-second shorter cooldown.
- Tier 4: Improves Air Strike's Volume of fire by 2 bombs.
- Tier 5: Increases damage dealt by Air Strike bombs by 45%.
- Tier 6: Improves Air Strike's volume of fire by 4 bombs.
Banner
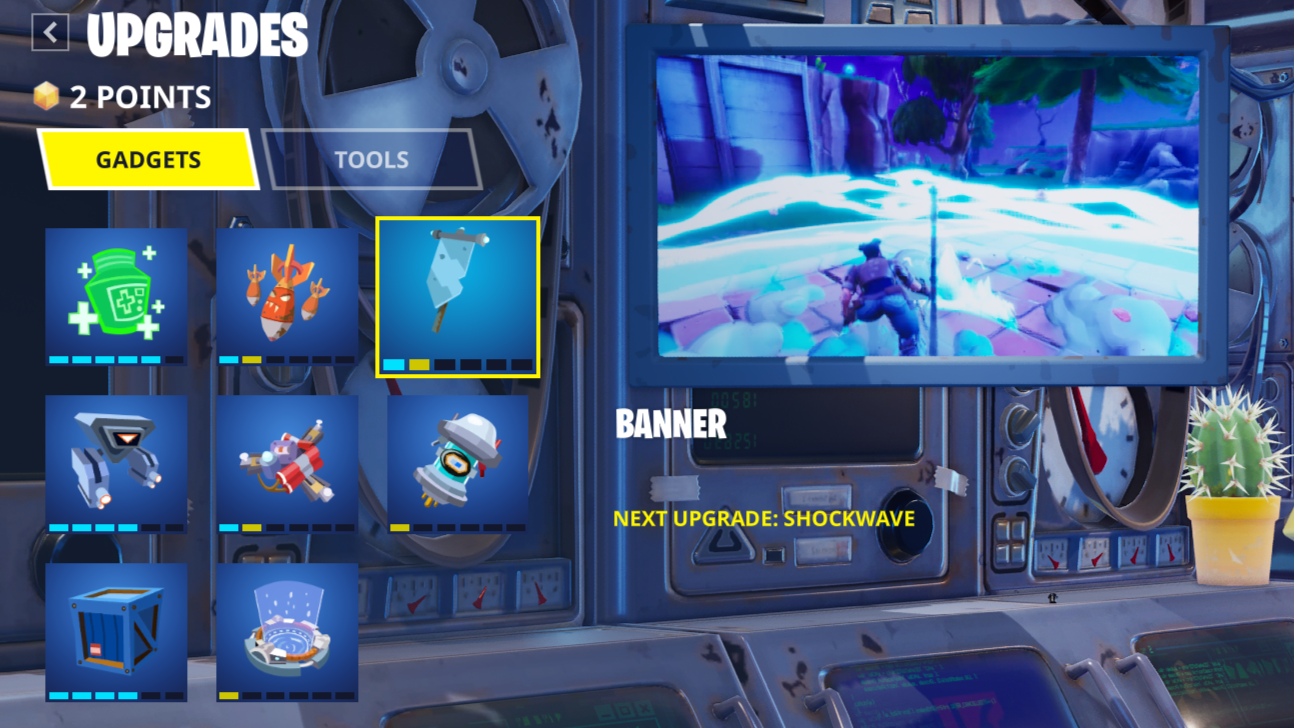
- Base skill: Cooldown: 300 seconds. Drops a Banner, healing all player-built building pieces in a 1-tile radius, and increases building health to 150% for 30 seconds.
- Tier 2: Banner now creates a damaging shockwave: 89 damage in a 1-tile radius.
- Tier 3: Improves Banner's Duration to 45 seconds.
- Tier 4: Players can now respawn at the Banner's location.
- Tier 5: Improves Banner's effects on player buildings to 250%.
- Tier 6: Improves the range of Banner's Shockwave effect to 1.5 tiles.
Hover Turret
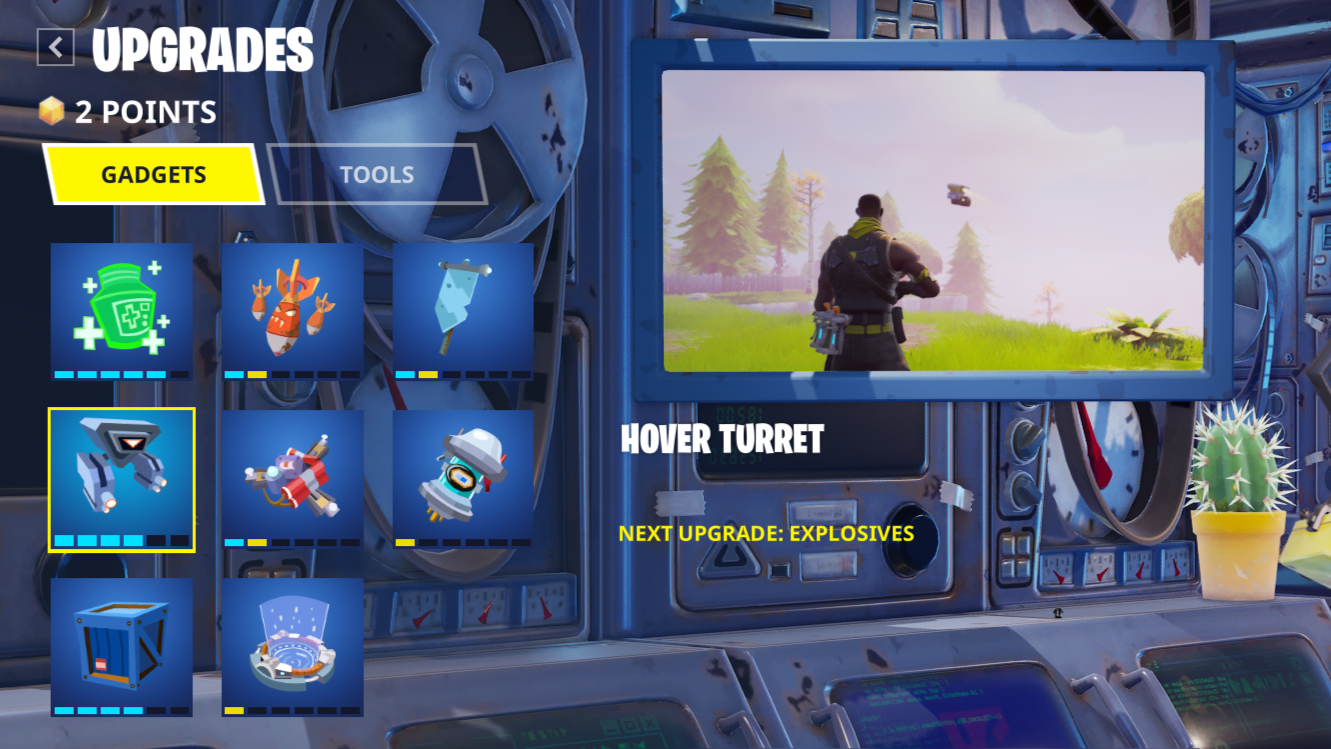
- Base skill: Cost: 1 Ammo: Bot Turret. Ammo Regen Time: 150 seconds. Deploys a stationary hover turret that fires 6 rounds per second at enemies within 4 tile range. Turret lasts for 20 seconds.
- Tier 2: Improves the range of the Hover Turret by 4 tiles.
- Tier 3: Improves the Hover Turret's duration by 10 seconds.
- Tier 4: Number of charges that can be held for a given ability: Ability Charges +1.
- Tier 5: The Hover Turret now explodes upon death: Base damage = 114.
- Tier 6: Increases the Hover Turret's rate of fire to 10 rounds per second.
Proximity Mine
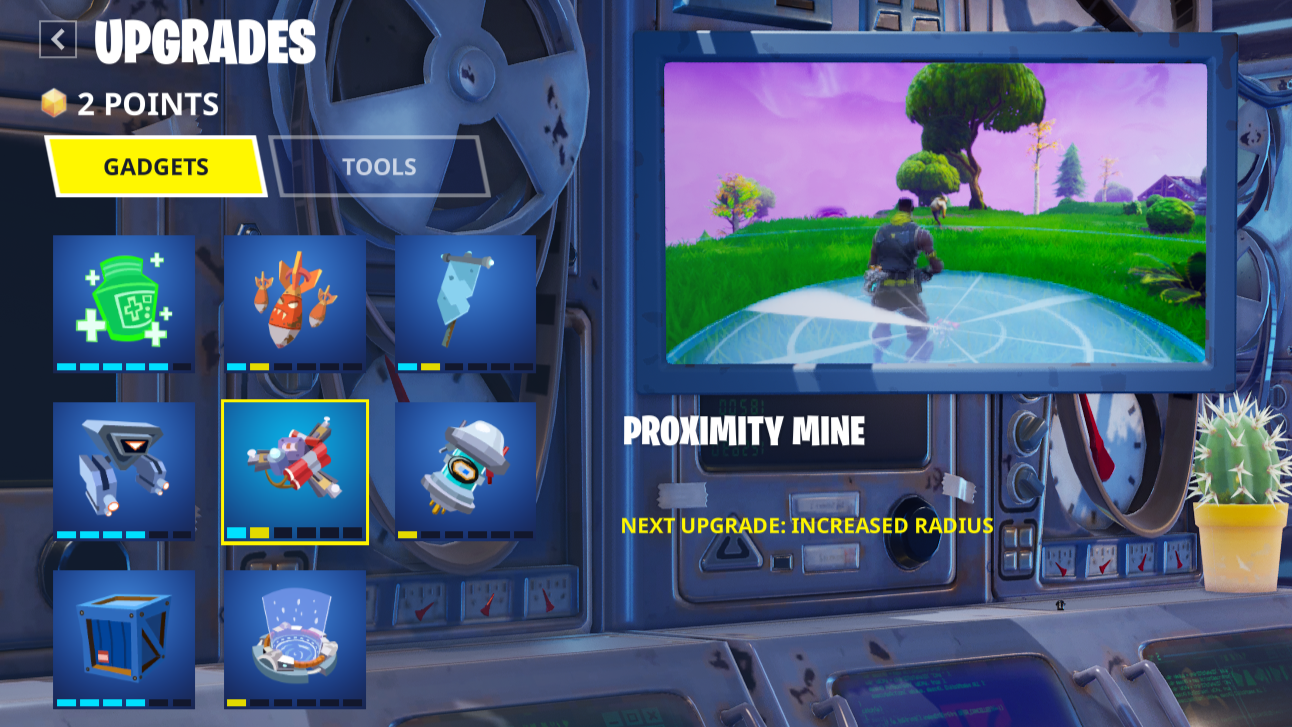
- Base skill: Cost: 1 Ammo: Proximity Mines. Ammo Regen Time: 240 seconds. Deploys a Proximity Mine that will damage all enemies within a 1-tile range.
- Tier 2: Improves the range of Proximity Mine by 0.25 tiles.
- Tier 3: Number of charges that can be held for a given ability: Ability Charges +1.
- Tier 4: Improves the lethality of Proximity Mine by 45%.
- Tier 5: Improves the range of Proximity Mine by 0.25 tiles.
- Tier 6: Number of charges that can be held for a given ability: Ability Charges +1.
Slow Field
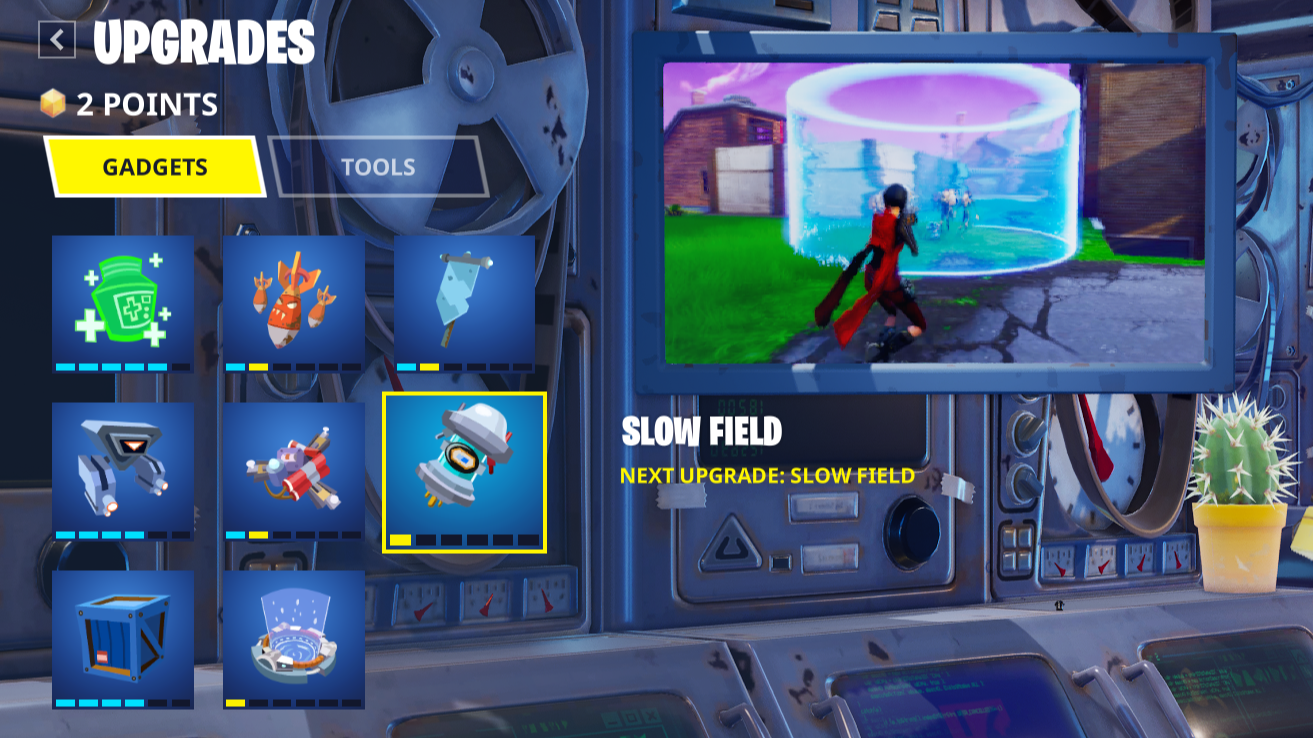
- Base skill: Cooldown: 180 seconds. Slows down enemies in a 0.75 tile range by 40% for 25 seconds.
- Tier 2: Improves Slow Field duration by 10 seconds.
- Tier 3: Improves the range of Slow Field by 0.5 tiles.
- Tier 4: Improves Slow Field's effects on enemies: Reduces speed by 60%.
- Tier 5: Improves Slow Field duration by 10 seconds.
- Tier 6: Improves the range of Slow Field by 0.5 tiles.
Supply Drop
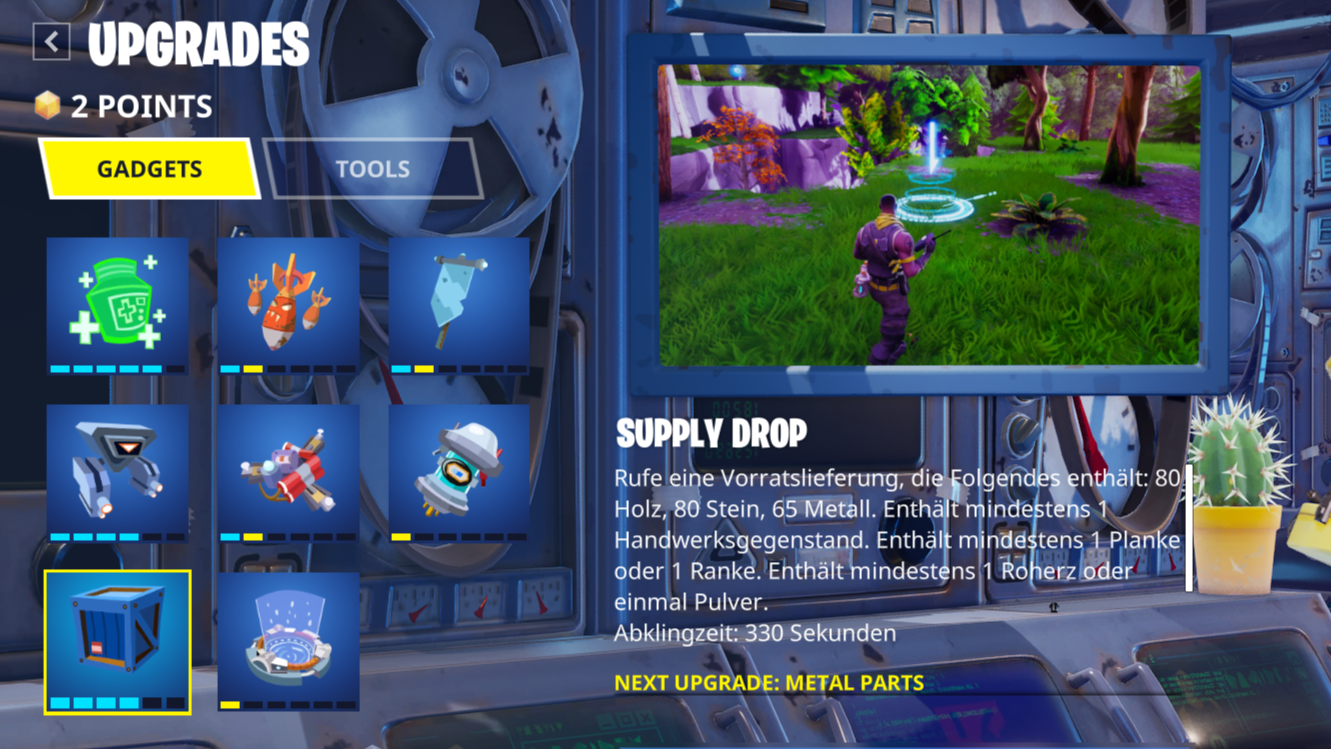
- Base skill: Cooldown: 330 seconds. Call in a supply drop that includes 60 Wood, 60 Stone, and 60 Metal. Gadget will start on cooldown when loading into a zone.
- Tier 2: Drops 5 additional Wood, Stone, and Metal. Get 1 extra crafting item.
- Tier 3: Drops 15 additional Wood. Get 1 extra plank or twine.
- Tier 4: Drops 15 additional Stone. Get 1 extra rough ore or powder.
- Tier 5: Drops 15 additional Metal. Get 1 extra mechanical part or nuts and bolts.
- Tier 6: Drops 5 additional Wood, Stone, and Metal. Get 1 extra trap and ammo.
Teleporter
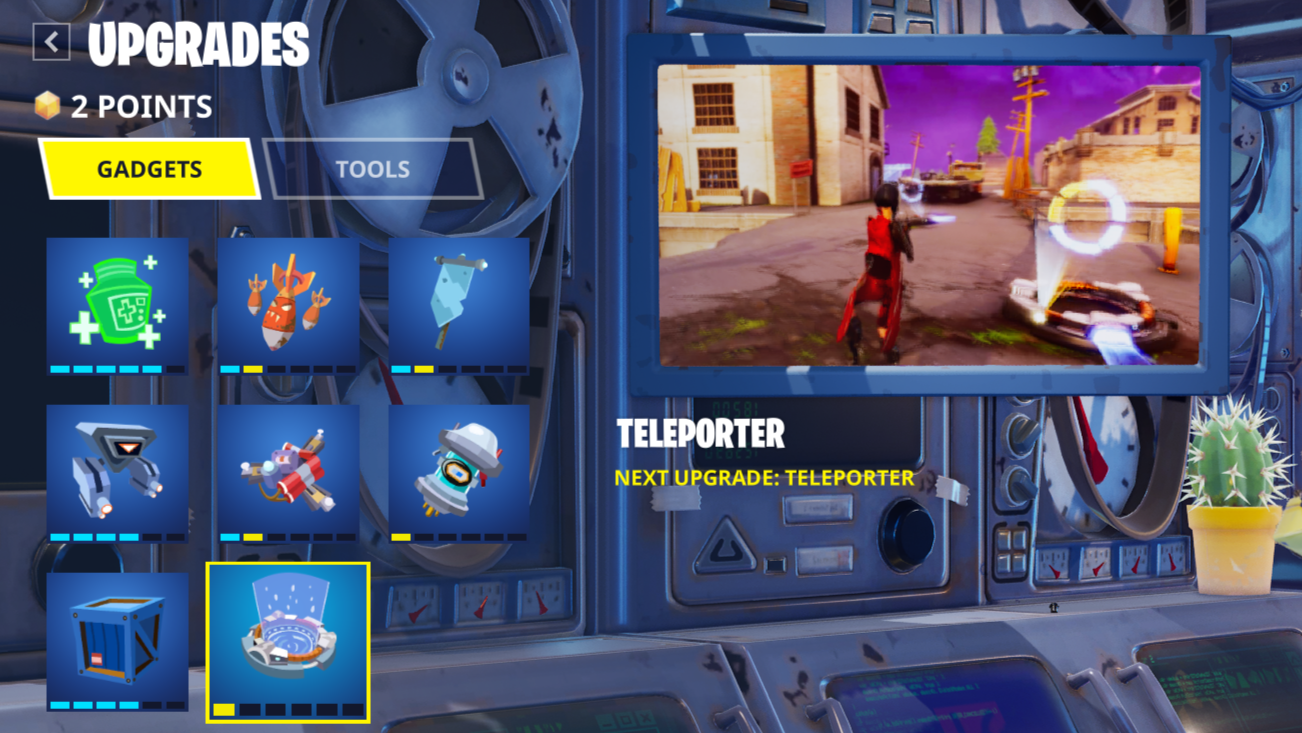
- Base skill: Cooldown: 120 seconds. Deploys two teleportation pads which can be moved up to 15 tiles away from one another. Step on one to travel to the other. Recharges slower with each use.
- Tier 2: Improves the range of the Teleporter by 5 tiles.
- Tier 3: Reduces the wait time after every Teleporter usage by 40%.
- Tier 4: Improves the range of the Teleporter by 5 tiles.
- Tier 5: Reduces the wait time after every Teleporter usage by 20%.
- Tier 6: Improves the range of the Teleporter by 5 tiles.
These are all of the Gadgets in Fortnite: Save the World, plus all of their upgrades! What else would you like to learn about this mode? Tell us in the comments!